Thursday, August 13, 2020

Welcome Back Bethpage Students, We Have Missed You!

 Welcome Back Bethpage Students, We Have Missed You!

These first couple of weeks are basically start up weeks.  We are getting used to being back in school from a very long vacation, and although things are a little different, we are still going to be making ART!

First Week:  All grades is an Introduction to Art. We ask the question, “What is art?”  And, “Whatdoes art mean to us personally?”  “What art have you seen or made over the summer.”

Second Week:  Grades K-2 we read the book “Ish”, by Peter Reynolds.  This is a story about a young boy who loves to draw.  He suddenly becomes embarrassed of his drawings after his older brother teases him.  The little boy tries to draw but becomes frustrated and says he’s finished with drawing.  When his sister picks up his drawings to hang in her room, the little boy becomes proud of his artwork once again and continues to do what he likes best, to draw.  He learns that the art he creates does not have to be perfect.  As long as his drawings look kind of like what he pictures that is good enough, they can be and ish picture. If he comes close to drawing some that resembles a tree, it will become tree-ish, etc.

Second Week:  Grades 3rd-5th we talked about “Improving an Idea”.  The lesson began with the study of Orville and Wilbur Wright who were the first to fly a man powered plane in the air for a period of time.  We discussed the fact that the Wright brothers were not the first to have a vision for flying.  Many people have dreamed of flying in the past.  Leonardo da Vinci had an idea for flying from his papers and illustrations written way back in the late 1400s revealing his ornithopter.

We continued with the lesson by designing and creating our own airplane.  We flew the planes outside and wrote data about the flight:  how far the plane few and how straight of a flight.  Between this week and next students are to continue developing ideas of how to improve their paper airplane.  After creating a great plane, they are to decorate it with lines, pattern and color that we will do in art.

Tuesday, May 19, 2020

Art and Vibration

Art and Vibration

Let’s Make Castanets!  

Castanets are considered a percussion instrument used in many forms of music, most recognized in Spanish music.  The instrument is made of a pair of concave objects such as shells, wood or plastic, which is joined on one side by a string or in the photos below a simple fold.


Steps:

1. Cut a strip of cardboard to your required measurements (ours is just over 13cm by 4cm or just over 5 inches by 1.5 inches)


2. Fold the cardboard strip in half. If desired, you can decorate the cardboard: draw on it, paint it or do whatever you latest craft-crush dictates.(Alternatively, you can leave this step for after the castanets have been completed.)


3. Now you want to glue the bottle caps onto the cardboard.If your little crafters are very little, make sure they are gluing them on the inside of the folded cardboard piece. Put glue on the jagged edge of one bottle cap and place it on the edge of one end of the cardboard strip. If your cardboard is the thick kind you can press the bottle cap into the cardboard for a better grip.Let it dry.


4. Glue the second bottle cap on the other end of the cardboard strip, in the same manner. Make sure that it is aligned with the first bottle cap. You want them to click together when you're done, so they have to be positioned to correspond.Let the glue dry.If you've left the decorating-your-castanets part for last, now is the time to play some music and have fun with it.


Tuesday, May 12, 2020

Force, Motion and Magnets

Force, Motion and Magnets

This week our topic has to do with force and motion.  We are including magnetism to add a little extra interest to the mix. What is magnetic force?  It is  a consequence of the electromagnetic force caused by the motion of charges.  Two objects with a charge containing the same direction of motion have a magnetic force attraction between them.  And objects with charge moving in opposite directions have a repulsive force between them.  

Let’s try something a little radical in terms of magnetic force and art.  Let’s paint using magnets!  Watch the following YouTube video for a visual “how to”.  


Things you’ll need:

Paper

Magnets

Metal objects to help you paint interesting designs

As long as you are able to achieve magnetic attraction between your magnet and metal objects, with your paper in between, you’ll be able to create an interesting painting.

Wednesday, May 6, 2020

The Earth, Sun and Shadows

The Earth, Sun and Shadows

When my oldest son was small, he and I were walking to the park on a very hot sunny day.  He told me, “Don’t worry Mama, the sun will move before long”.  I was amazed that he was able to connect the position of the sun with the brightness and heat of that time of day, at such a young age.  It was somewhat true that the sun would move, but actually it’s the position of the earth that actually moves the greatest.  The sun is made up of gaseous plasma, so it’s not a solid planet like the earth, and rotates on its axis once a month.  It takes Earth only 24 hours to make a full rotation.  

If you have ever noticed, shadows cast in the morning and evening times are very long since the sun is at its lowest point.  Shadows cast by the sun midday are extremely short since the sun is at its highest point of the day.  It was this basic knowledge that helped to develop the concept of time, and the invention of the sundial.

Here is a time lapse image, with chalk drawn outlines showing the progression of shadows and time.


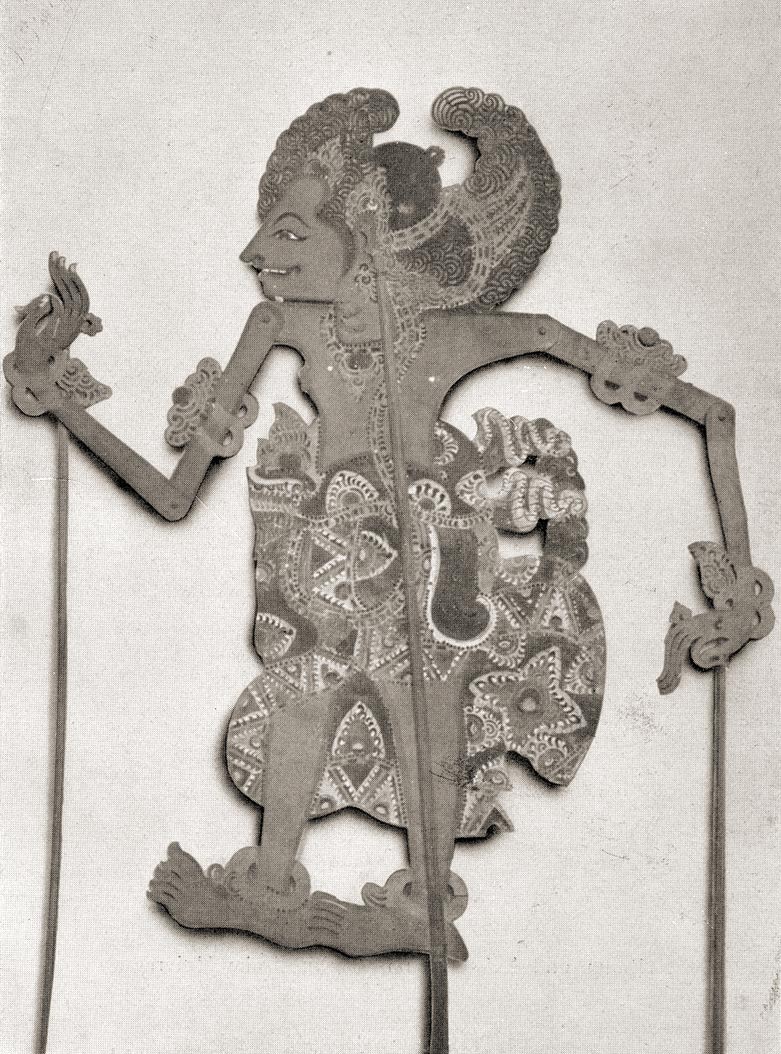
As far as art goes, not only have artists used shadow to add a third dimension to their artwork, but they utilized shadows in the form of shadow puppetry.  The shadow puppet theater has been in use over a thousand years.  In Indonesia puppets are stylized into characters of heros.  

Try making some shadow puppets of your own.  You can create your own play as well, having various scripts for the different characters.  


Have Fun!


Saturday, May 2, 2020

How Do We See Color?

This is a topic we have discussed in art, “How Do We See Color?”

Let’s begin by remembering white light, particularly sunlight, is made of all colors.  If you have ever seen an optical prism, it has a transparent triangular base with rectangular sides, and its polished surfaces reflect light.  The prism disperses the light passing through it into differing wavelengths.  So light of different colors become refracted differently and leaves the prism at different angles, creating a rainbow effect.

How about trying to create a rainbow of your very own? 

K-2 Kids

Try making a rainbow with your water hose.  Watch the following video for how to use your hose with light.


3-5 Kids

You can make a simple prism with a mirror and water:


Now for how we see color.  Our eyes and brain together translate light into color.  The receptors within our eyes transmit messages to the brain which produces familiar sensations of color.  As we look at an object, a red apple for example, the surface of the apple reflects red, while absorbing all the other colors so we only see the red reflected color.  Additionally, an object appears white in color when it reflects all wavelengths and black when it absorbs them all.  

Here is a link below to further explain how we see color:


https://youtu.be/DJDBTNbAWOE

Extension

Many wonder how animals see color.  It has been thought that our fury friends can only see in black and white, but not true.  Animals do see colors differently than us humans.  As humans, we all have the same types of photoreceptors in our eyes and will perceive the same colors.  When an animal sees the same light, they perceive something totally different because they have an entirely different set of photoreceptors.  They do not have as many cones responsible for color as we have, but various species have different ways of seeing.  Cats, for instance, can see very well at night.


Thursday, April 23, 2020

Fantastic Bubble Art!

This bubble art was sent in by Tricia Maribojoc...


I can see how the colors mixed together in some areas which adds an element of interest, making a variance in the colors and in value.  What a fun way to spend an afternoon!  This would be ideal for making beautiful stationary.


Thank you Leah!

I love seeing that our students at Bethpage Elementary are thriving in their creativity while learning and producing art from home.  Leah Fakes sent the following beautiful artwork:


As we look at these fabulous works of art, Leah showed her knowledge of both symmetry with radial balance in the first and mirroring in the owl and butterfly.  I love that she is able to add life to her owl with the catch lights in the eyes, and I love the details of the feathers.  Leah demonstrated great folding skills when creating her butterfly!  Leah also sent in the following images of other things she has done-I’m so proud of you!


Tuesday, April 21, 2020

Symmetry for Sure!

Thank you Tricia Maribojoc, you definitely know what symmetry looks like!! 


In looking at the beautiful butterfly, Tricia you did a great job mirroring the wings, making one side look like the other.  The same is true with your kite, of which you did a great job...love the tail that seems to Compliment the colors in the kite itself.


Monday, April 20, 2020

Marbling Paper at Home Made Easy!

Marbling is a wonderful way to decorate paper to use for stationary in letter writing or cards.  The following is a great video to help in the process.

https://youtu.be/65e5hKRPEnA

Supplies:

Thick paper

A few different colors of food coloring (I suggest using the three primary colors:  yellow, red and blue.

1 can of shaving cream

1 stick for swirling the colors

Steps:

Fill a pan that’s kind of flat with shaving cream, then add squirts of food coloring.  Take the stick and “Slightly” stir to mix and spread colors some.  Lay paper on top so it just touches the shaving cream.  Pull the paper up and squeegee off excess.  Let dry and begin with your special letter writing.  


Making Colorful Art with Bubbles!

We can make unusual artwork just by mixing a little food coloring with soap and water!


Supplies:

3 Tablespoons of soap

3 short glasses

3 primary colors of food coloring:  yellow, red and blue (as many drops as you like, but start with just 3 or 4)

3 cups of water

3 straws

1 fairly large paper that is not too thin


Step 1:

Begin by placing 1 Tblsp. of soap in each glass.

Step 2:

Add 1 cup of water to each glass, along with 1 color of food coloring per glass.

Step 3:

Take the straws and begin blowing bubbles.  If the colorful bubbles are slow to rise to top of glass, add a little more soap.

Last:

Quickly take your paper and Gently lay it on top of bubbles.  As you raise your paper up you’ll see the beautiful colors and shapes you are making.  You will notice that the primary colors begin to mix, creating other colors of the rainbow.  

Hint:

Be careful to not let your paper get too “watery”, and try keeping it flat until it dries.

Remember our rule in art class, Be Sure to Have Fun!


Tuesday, April 14, 2020

Let’s Make a Kite

     Making and flying kites can be a fun activity to do with your family.  We have been talking about symmetry in art, and kites are definitely symmetrical.  Kite making is where science and art come together, fusing beauty and design with the science of aerodynamics.  Have your parents help gather materials and follow the steps outlined in the following video.  Have Fun!


Hello Spring!

This is a spring inspired painting byAvery West:


    Avery explained to me that she thought of spring and the Easter Bunny while painting this beautiful canvas.  I love the colors she used which definitely reminds me of spring.  I also could add that this painting is also an illustration of symmetry since if we were to draw an imaginary line down the center, it is fairly balanced.  Thank you Avery for your gorgeous contribution!  

Monday, April 6, 2020

Continuing with Radial Balance-Gades 3rd-5th

Continuing with Radial Balance-Gades 3rd-5th

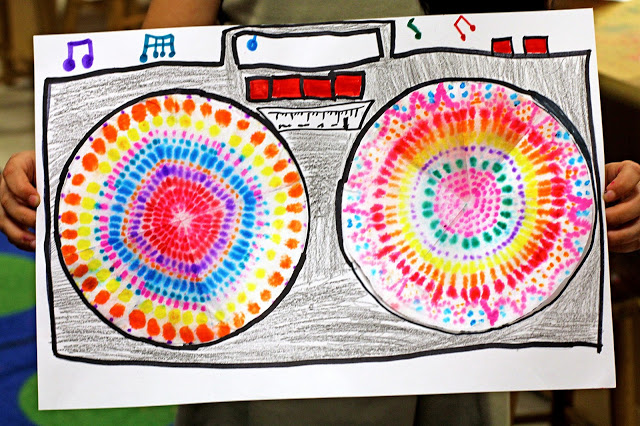
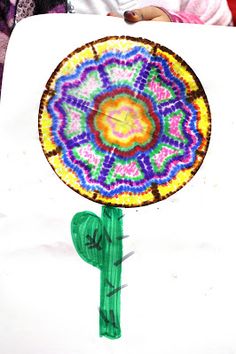
Hey kids, let’s try our hand at drawing some mandalas using the art idea of Radial Balance.  A mandala is a circular image that illustrates lines, shapes and colors radiating out from a center point.

Supplies Needed:  You will need washable markers, coffee filters and a spray bottle with water.  An optional item would be a sharpie or any type of permanent marker.

First Step:  Begin by laying the coffee filter out flat.  Visualize how you want your artwork to look in the end before using any art materials.  Here are some ideas-


Second Step:  Start designing!  You may draw first some designs with a permanent marker, but not necessary.  Be thoughtful about the colors you use...complimentary colors next to one another would be very nice:  yellow next to purple, red next to green, and blue next to orange.

Third Step:  Spray whole filter with water and watch colors soften and mix together slightly.  The coffee filter diffuses the color.

Last:  When dry, think of how you can add to your work, or what you can make out of it.  How will you display it.  Look below for ideas and possibly write a short story telling about your object.  If you have something you want to share please send it to me and I’ll post it on the blog!


Continuing with Symmetry-Grades K-2

Continuing with Symmetry-Grades K-2

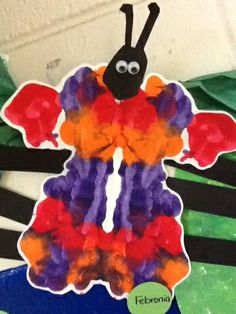
This week let’s have some fun making little creatures using homemade paint and  

the art idea of Symmetry.  

1st Step:  Make paint by following instructions in the following video


2nd Step:  Create!  Take a sheet of paper and fold it in half.  

3rd Step:  Paint on only one side of your paper.  You can use a variety of colors or just a few, whatever you would like.

4th Step:  The fun part, fold the paper and squash the paint in between pages just a little so as to not let the paint drop outside the paper and make a mess.

Last:  Viola, Symmetry!  Now decide on what creature you have made and add legs and antenna how you see fit!  If you have something to share send it to me and I’ll post on it the blog.


Thursday, April 2, 2020

Radial Symmetry


Radial Symmetry-

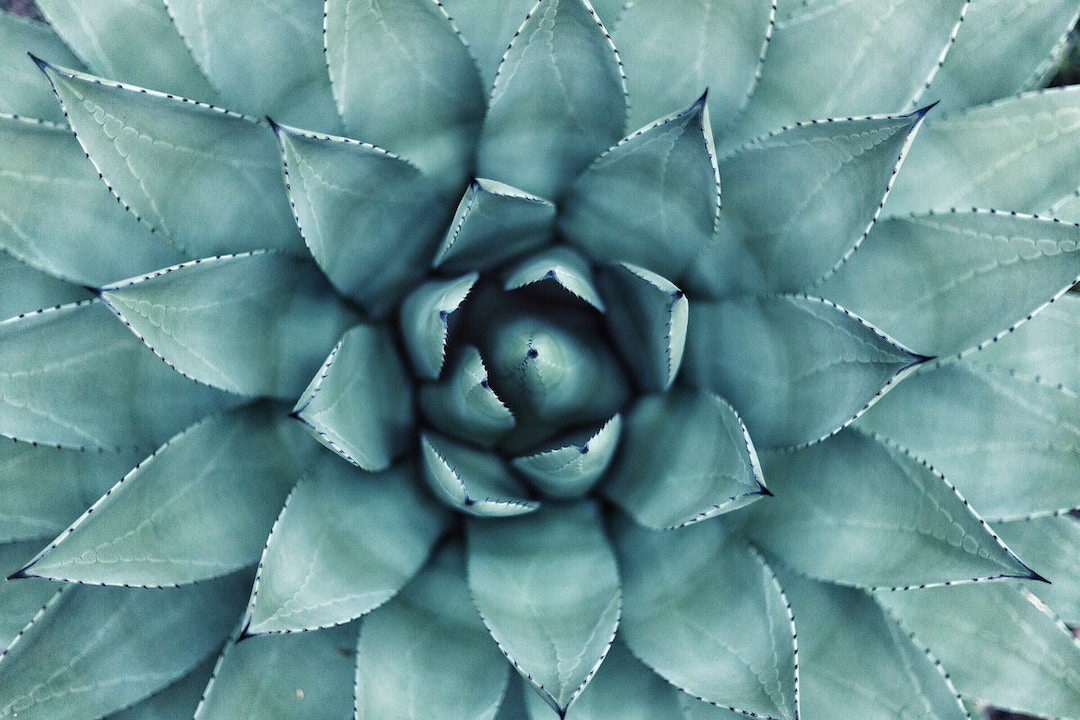
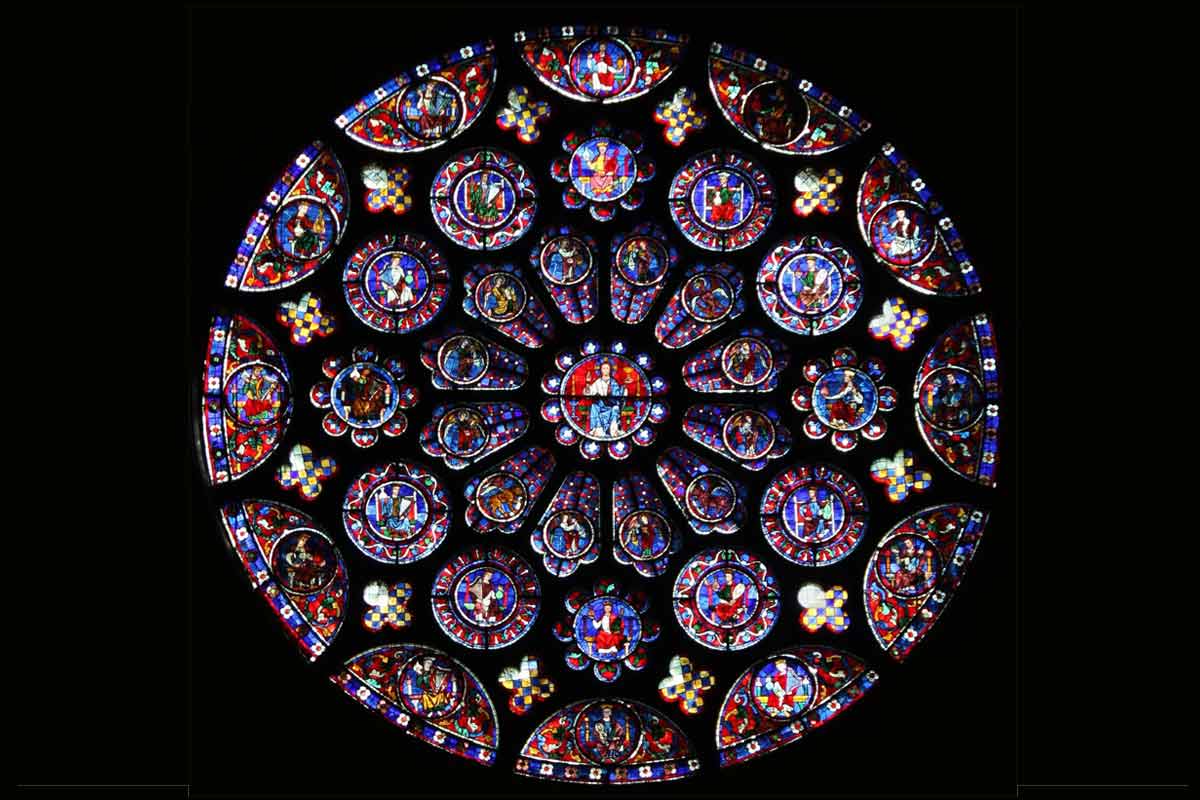
This type of symmetry is where lines or objects radiate out from a central axis. It really has no left or right sides as in Reflection Symmetry.  And we can find Radial Symmetry all around us if we take the time to search for it:

Assignment:  Observe objects in your environment and try to find Radial Symmetry.


Here is a short video to further explain Radial Symmetry:

www.youtube\kaz9dqbxphe.com


Symmetry


Symmetry-

Symmetry is one of the last art topics we touched for many of our art classes.  There are several different kinds of symmetry, although we will primarily focus on Reflection Symmetry and Radial Symmetry.

Reflection Symmetry-

This is a type of symmetry where one side of an image is a mirror image (reflection) of the other.  This form of symmetry is all around us and if we pay attention we will see find it:

Assignment:  Observe objects in your environment and try to find Reflection Symmetry.


Short video on Reflection Symmetry:


Welcome Back Bethpage Students, We Have Missed You!

 Welcome Back Bethpage Students, We Have Missed You! These first couple of weeks are basically start up weeks.  We are getting used to being...